Types and selection of the appropriate color
Before starting anything to do with applying colors, the first step is of course the colors themselves!
There are different types depending on the point and surface they are intended for, each with their own pros and cons.
For interior spaces, the dominant colors are:
Ecological: This is the most “latest technology” category which, as the name suggests, has as its main advantage that it is friendly to the environment and people.
They are non-toxic and non-allergenic and can be chosen for places inhabited by people with more sensitive bodies such as the elderly, infants, children and pregnant women.
As you might expect though, it’s usually more expensive than the rest, but it’s worth it.

Plastics: The most common and timeless choice for interior spaces. They are easy to spread and usually offer quite a lot of coverage and homogeneity.
Ripolins: By far the most common choice for wood and metal.
Fungicides: Due to their properties, they are intended for areas where there is a high probability of fungal growth. In a given house, these spaces are the bathroom and the kitchen.
Satine: The most luxurious category characterized by a velvety appearance as well as great resistance to stains and washing.
They are used in areas where appearance plays a greater role, such as the living room and bedrooms.
Watercolors: Exactly the opposite of the previous category, they have low resistance and are therefore intended specifically for low-demand areas that rarely welcome people such as warehouses, lofts and stairwells.
Calculating the quantity: Whatever type of color you choose, the next step is to choose its quantity.
In any case, you must consult your seller who will guide you as precisely as possible in its exact determination. However, to make it easier for him, and to be generally prepared, you can do the following calculations yourself before going to the paint shop:
- Calculate the area of each wall you want to paint by multiplying the length by the width. The number you will find is measured in square meters.
For example if your wall is 3.30 meters high x 5.50 meters wide, then we are talking about 18.15 square meters. Do the same for all the walls and add the totals.
- Do the same for the doors and windows that are on the walls to be painted. Subtract the sum of their areas from the number you found in the previous step and you have in your hands the final area of the surface to be painted.
- Multiply that by the hands of paint you will become.
Usually it is 2, but your color dealer will tell you better about this.
In case of transition from very light to very dark or vice versa, the third hand is considered safe.
Finally, divide it by the number of square meters per liter written on the package of the paint you will eventually use.
The number you will find is the number of paint redemptions that will be made.
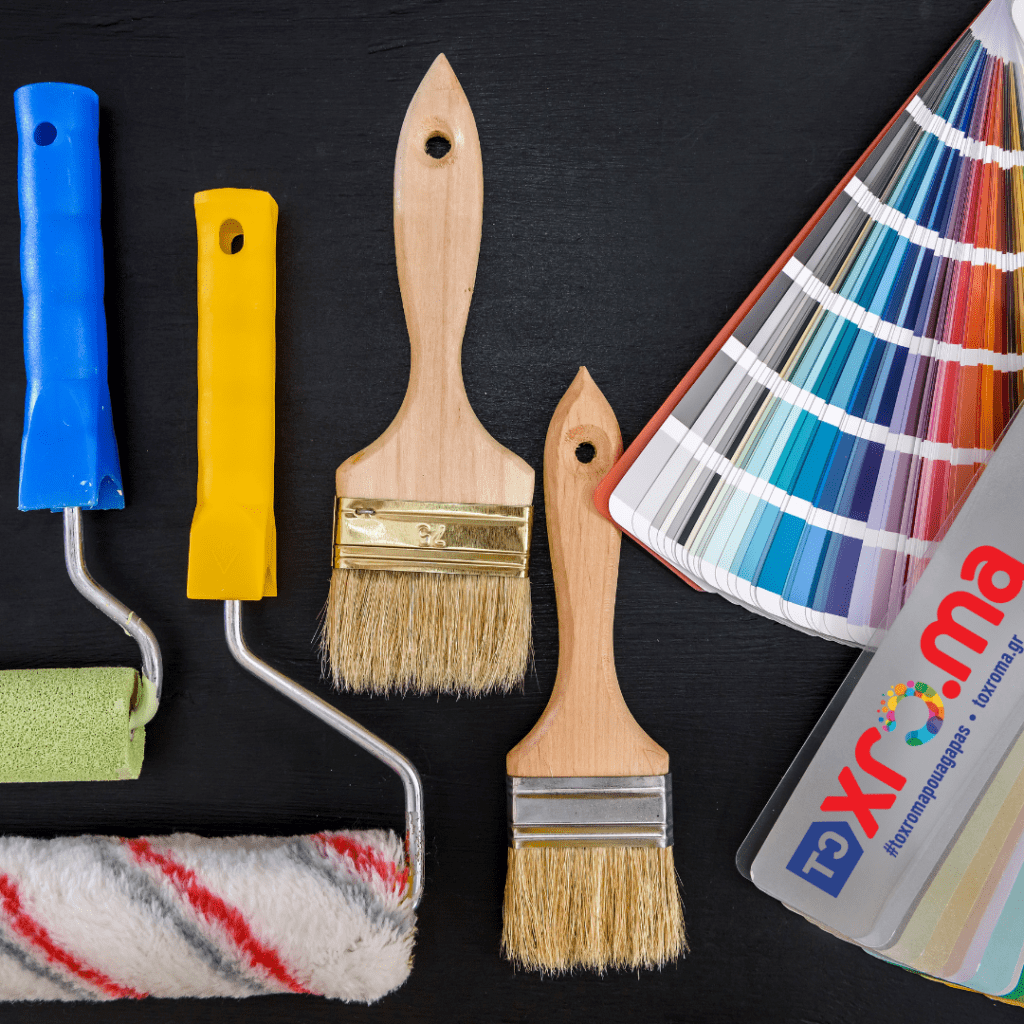
Equipment: Is it possible to paint only with paint?
It can not be done! Knowing exactly what painting tools you need to get depending on the work you will do, will make it much easier and painting will become child’s play!
Although you can find ready-made painting sets on the market, it is good to know the usefulness of each tool separately, so that you know if the set you are going to buy is complete or if you need to get something extra.
The standard equipment that will be applied in practically every case is the following:
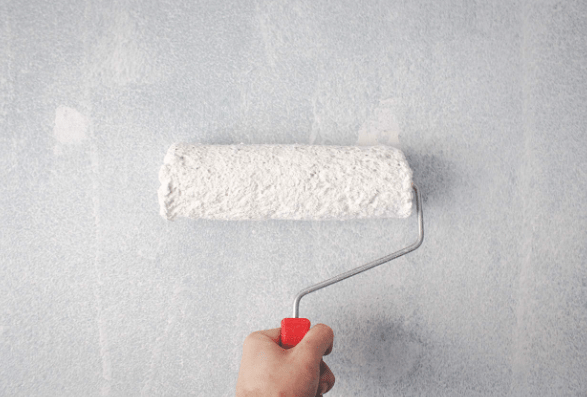
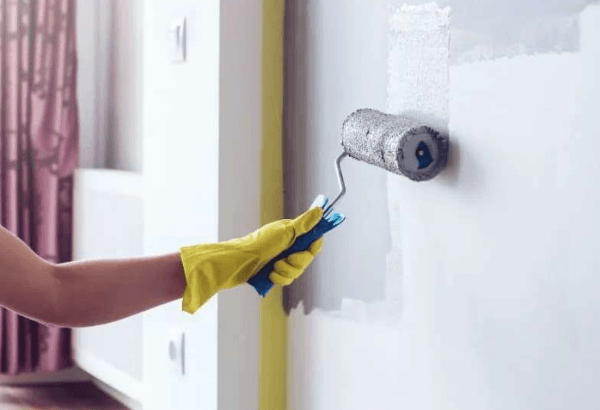
Painting Roll: Without this, there is simply no painting. It is your most basic tool, so make sure you find exactly what you need in your case to give your space exactly the look it has imagined.
You need a different roller for cement and a different one for metal, there are special rollers for corners, they cannot be with a sponge or with synthetic fur depending on what finish you want to achieve, and of course, they come in different sizes.
Paint boat: Of course not different boats, but the special one with the sloping surface on one side to drain the roll. It helps even more if you also use a draining rack to better control the paint that remains on the roller.
Brushes in various sizes: Although most of the work will be done with the roller, brushes are what will help with details and where more controlled amounts of paint are needed, such as around window frames.
Stirring blade for paint: For mixing the paint at any time, whether during dilution or later. You can also use a simple piece of wood.
Sponge, detergent and water: As much of a chore as it sounds, a wall must be cleaned before painting. A little dish soap on a kitchen sponge along with rinsing with just water does the job.
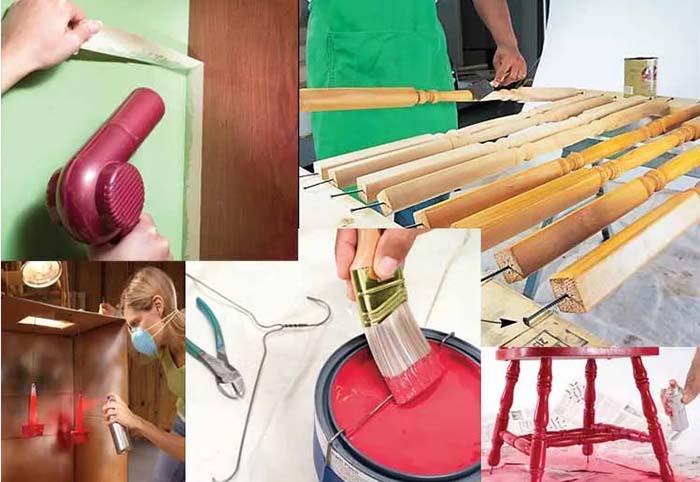
Ladder for the high points: Unless the space is particularly low-ceilinged or you are a basketball player. In addition to the above standards, there are various other optional items that may or may not be done, depending on your work:
Putty: If your wall has holes, cracks or nails that have come out, you must first cover all of them with putty, because if their color changes, the result will be uneven and not at all satisfactory. Putty with a spatula and needs sanding after (usually the day after its application).
Sandpaper: By rubbing the wall with this you achieve additional smoothing, which is necessary in case there is faded paint from the previous painting.
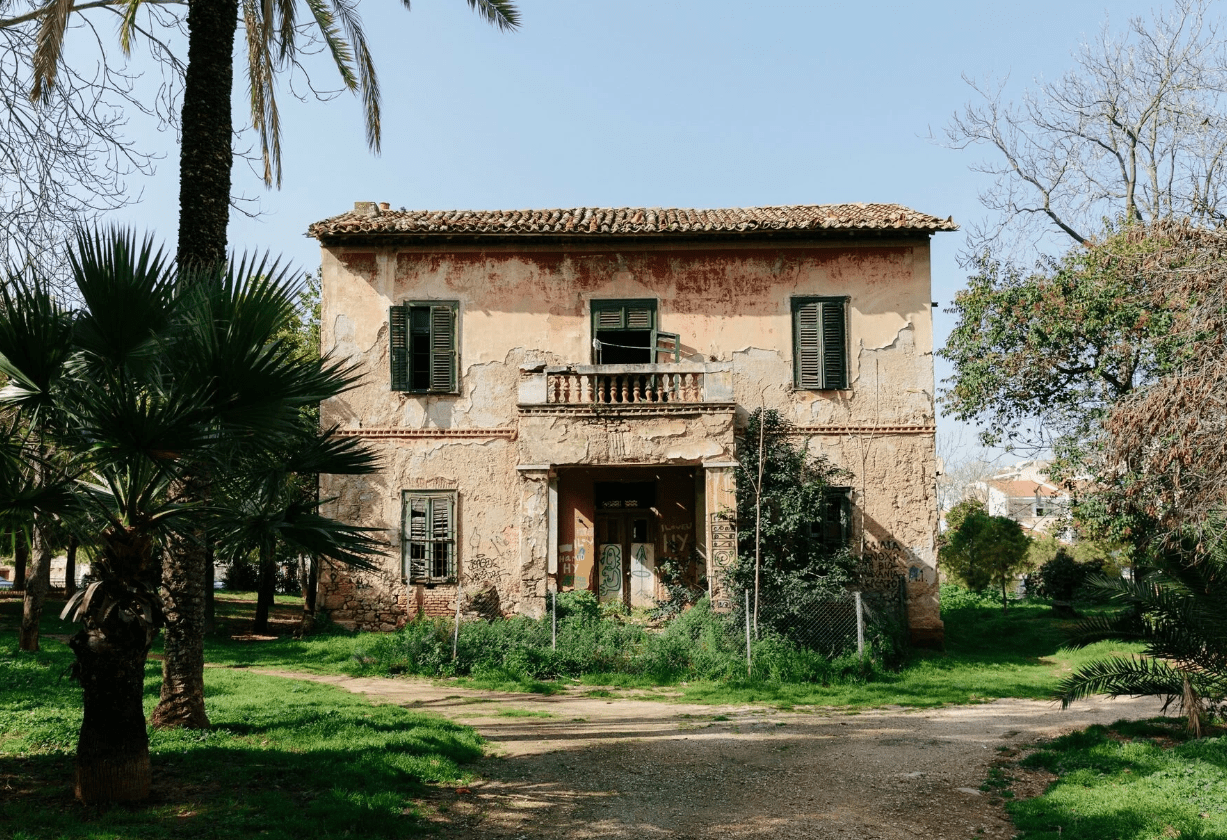
Primer: This is a material that you put on the wall before painting, thus creating a substrate that insulates the surface and protects it from any problem that the paint can cause. It must be applied to walls that are worn and distressed as well as to those that have not been painted in the past (eg in a newly built house).
It must be applied to walls that are worn and distressed as well as to those that have not been painted in the past (eg in a newly built house).
Typically, you don’t need to for walls that have been repainted and are in good shape, but there are some schools of thought that say it’s okay to relax even then.
But since we are practical and not philosophical, here are 2 simple and quick ways to see if your wall needs priming:
- Wet your thumb and press it against the wall. If there is a dark mark on the wall or paint on the finger, then a primer is needed.
- Put duct tape on the wall and pull it off. If there are bits left on it, it needs a primer! For its application, the surfaces must be clean, dry and free from loose peeling paint, dust, oil, salts and fungi.
- Paint thinner: Depending on the type of paint you get, it can either be thinned with thinner or water. Your color dealer is once again the one who will give you his lights, although most now recommend water-soluble paints.
- Telescopic pole for the roll: Much easier to use than the ladder in case you also put the ceiling. Let there be no need to keep moving the ladder!
- Gloves: Essential if you’ve just had a manicure! All kidding aside, it’s a good idea to wear gloves because you’ll definitely get some paint on you!
- Old clothes: And of course don’t go dyeing in your favorite jeans!
Site preparation: And once you’ve got everything you need, it’s time for action! You may have prepared psychologically, but your space should be equally prepared practically:
- Take down anything hanging on the walls.
- Remove the furniture. If there is storage next to it is ideal, otherwise gather them in the center of the room. If something is off, just cover it (see below).
- Take out all the curtains and blinds and if you have the chance, you might as well give them a wash!
- If there is a closet in the room, empty it of clothes because the smell of the paint, especially if it is not ecological, will suffocate them even if the inside of the closet is not painted.
- Plaster and/or sand the wall depending on what you decide to do.
- Cover all furniture with nylon or a sheet in case it ends up staying in the room. Obviously they should be moved away from the walls and placed in the center of the room, yes?
- Sweep the area around the baseboards to prevent dust from blowing up later that can stick to the freshly painted wall.
- Cover the floor with corrugated cardboard or old boxes.
- Cover all the frames with paper tape and remove it as soon as you finish painting and while the paint is fresh. If it dries, there is a chance that bits of it will remain on the tape when you peel it off.
- Clean the wall with a damp cloth.
- Apply the primer if you end up using it.
- Take a selfie for before and after!
Ώρα για βάψιμο!
The big moment has arrived and things from now on are pretty much familiar!
- Open the bucket of paint, and if it needs thinning with thinner, do it according to the instructions, using the stirring blade.
- Put a small amount of paint in the boat and make sure it is not too heavy.
- Start by doing the corners, the points around the frames and the first and general details which, as we said, are done with a brush.
- After you have finished the “frame” of each wall with the brush, fill in the “interior” by painting with the roller.
- The best way to paint is with steady movements, first vertically up and down, then diagonally, crossing the paths of the roller so as to form capital M’s or W’s and finally again with up and down movements. You continue painting the adjacent area before the paint you have applied before starts to dry so you don’t have the patches.
- You wait for the first coat to dry well, and then you do the same process for the second, third and so on.
- Finally, don’t forget to remove the masking tape from the frames while the paint is fresh and of course after the last coat of paint.
Small and useful tips: The result is often judged in the details, so I have in mind some small, but important things that will make a difference in your painting:
- If you don’t want to clean the brush or roller every time you take a break, wrap it in plastic wrap.
- For a longer period of time, like a week, place it in a plastic bag and put it in the freezer! After a thaw, time back to normal.
- To clean tools, place them in a bucket of water and fabric softener for 10 minutes. Then make sure they dry completely.
- While you ventilate, make sure that there is no strong current in any part of the room, so that you have an even drying.
- The season for painting is in May and the best way of life. The best time of the day is the morning, where there is light, and you are not dying from the heat.
Whatever color and whatever style you choose to apply, and at whatever point in the era of his home, we will simply wish… good creation!!
Ceiling Painting: Tips: Thinking of changing your home but don’t know where to start?
Painting a ceiling can be a great way to breathe new life into a room and make it look bright and fresh.
With the right tips and tricks, painting a ceiling can become a relatively simple process.
Here are some helpful ceiling painting tips to help you get the job done quickly and efficiently.
- Prepare the surface: Before you even think about picking up the paintbrush, it’s important to make sure the surface you’re going to paint is clean and free of dust, dirt or cobwebs. Use a vacuum cleaner or damp cloth to get rid of any residue before you begin.
- Protect your floors and furniture: Lay down cardboard, newspaper or plastic sheets to cover the floor and any furniture you don’t want to get splashed on.
- Choose a quality paint: When it comes to ceiling painting, it pays to choose a quality paint that is specifically designed for ceilings. This type of paint is usually thicker and can better handle any drips or roller marks.
- Use the right tools: Investing in a good quality brush and roller makes a huge difference to the finished product. A good quality brush and roller will give you a smoother and more even finish.
- Start at the corners: When you’re ready to start laying, start at the corners and edges of the room. What you don’t keep a neat, clean line and will make it easier to paint the rest of the ceiling.
- Apply the paint in thin layers: When putting up the ceiling, it is best to apply the paint in thin layers.
This will give you a smooth, even finish and will reduce the chance of the roll stopping or leaving marks.
- Let it dry: Once you’ve opened the ceiling painting, it’s important to let it dry thoroughly before you start moving furniture or other items back into the room.
Following these ceiling painting tips will help you get the job done quickly and efficiently and provide the best possible finish.
With the right preparation, quality paint, and the right tools, you can give your home a complete makeover in no time!